Sub-Total: $0.00
The past few weeks have been a whirlwind of activity as I’ve been frantically selecting scion material for our rhododendron cuttings. February and March have kept me on my toes, with the unpredictable summer weather making things particularly tricky. Some cutting material hasn’t hardened off properly, while others have done so too early—meaning we’ve had to be extra careful about what we take and when.
One of the biggest focuses this year has been sourcing cuttings from varieties that may not be readily available in the future. This effort isn’t just about expanding the selection in our nursery (though that’s certainly an added bonus!); it’s also about conservation. By propagating these cultivars, we’re ensuring they continue to be enjoyed for generations to come, with many destined for high-profile public spaces where they can truly shine.
Propagation is such a rewarding process, and I love seeing the results—healthy, bushy plants thriving in the nursery, ready for new homes. And, just for a bit of extra fun, I’ve dabbled in some grafting again this season! Grafting is a fantastic technique for those truly special and unique rhododendrons, and I’m eager to see if my efforts are successful this time around. The trickiest part? Finding just the right-sized material to graft onto—it’s like a puzzle that requires patience and precision.
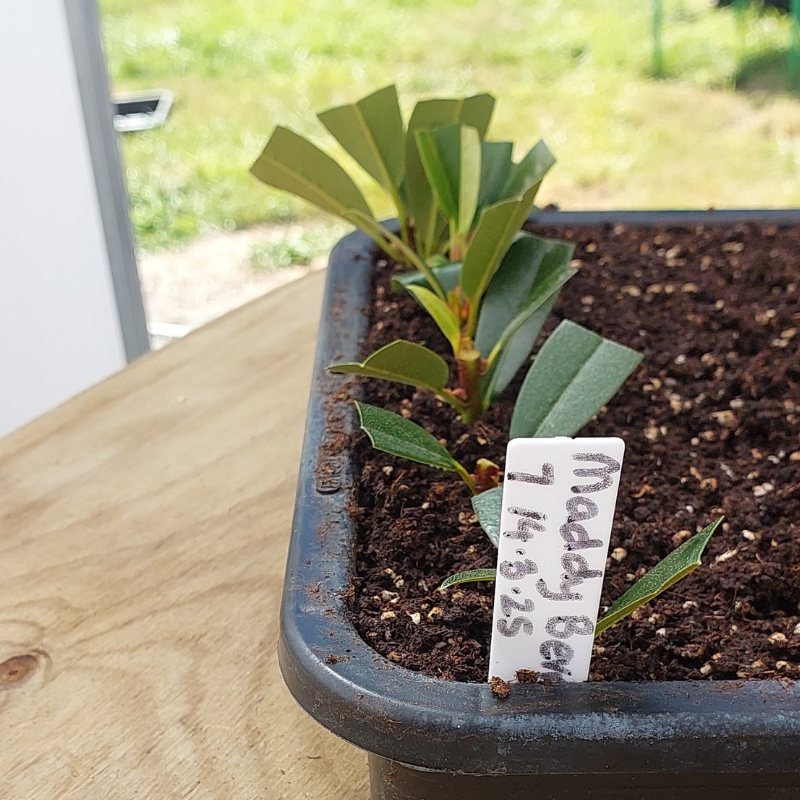
Now that all the cuttings are happily nestled in their trays, it’s a waiting game. Fingers crossed for great success this season!
-
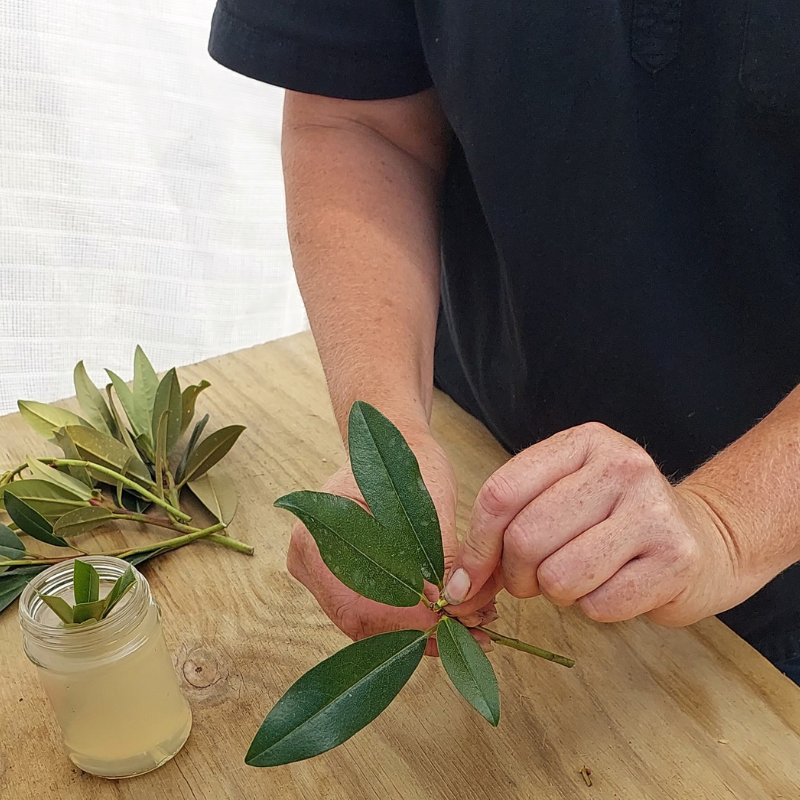
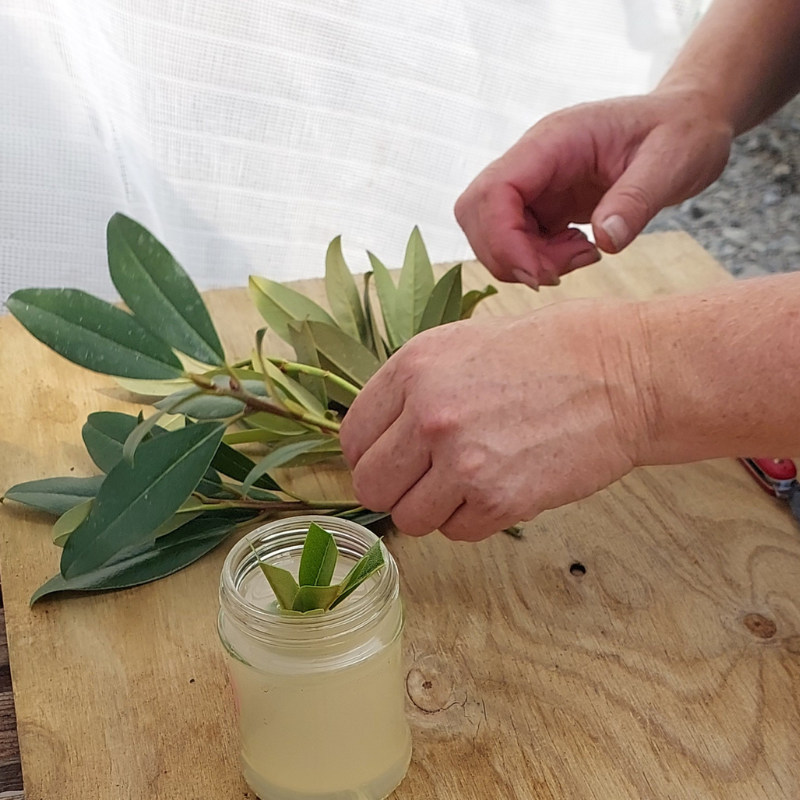
- First we take out the centre leaf bud carefully.
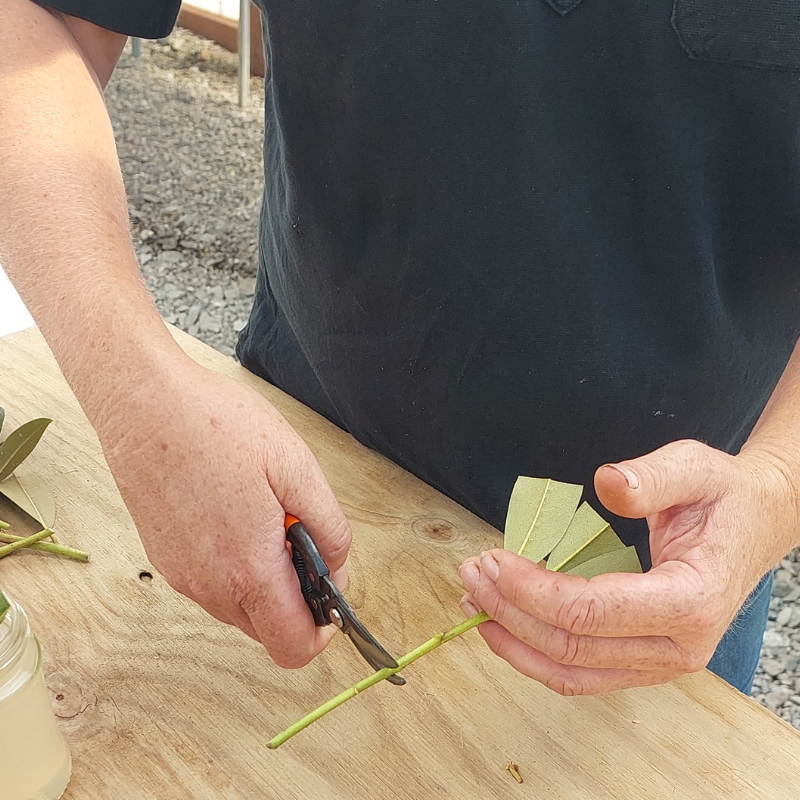
-
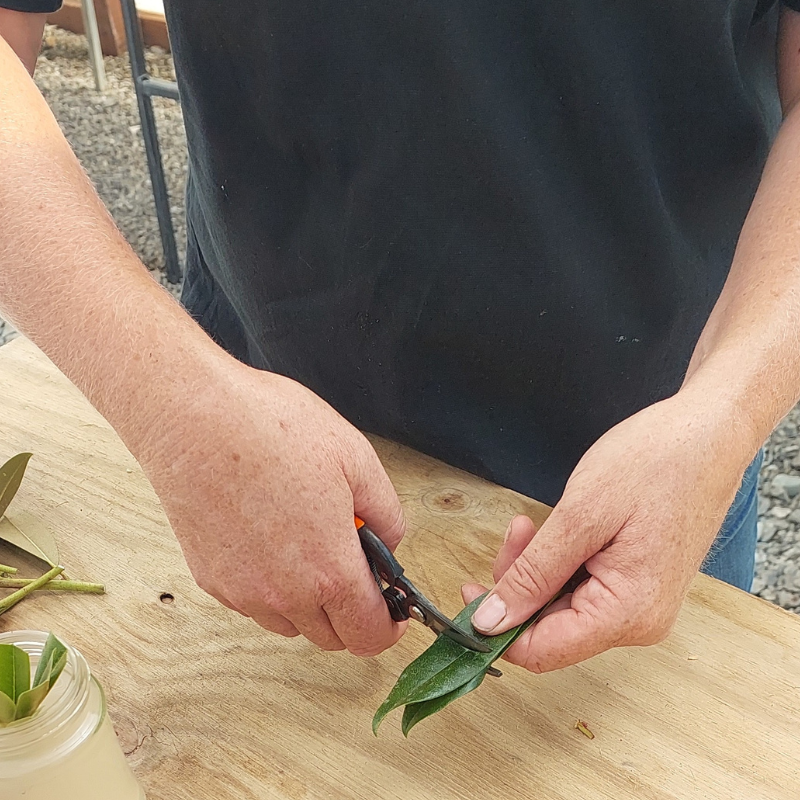
- I then cut the three to four remaining. leaves in half
-
- Freshly re-cut the end of the cutting.
-
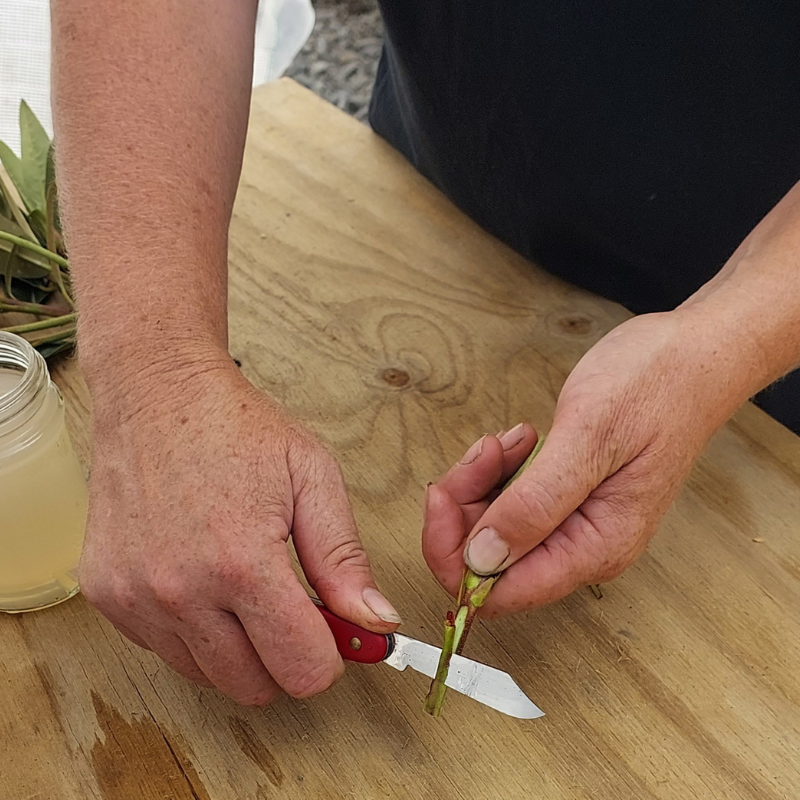
- I expose the cambium layer by making two cuts
-
- Place cutting into the propgagtion media labelled.