Sub-Total: $0.00
Here at RhodoDirect, all our plants are grown in pots, enabling you to plant them at any time of the year. But if you have a choice, autumn is the best season. The soil is still warm enough to encourage root development, but the plant’s water demands are lower than in summer. This gives your rhododendron a head start before winter, ensuring a strong root system before the next growing season.
Preparing the Planting Area
Before planting, thoroughly break up the soil and mix in organic matter like compost, peat, bark or well-rotted leaf mold. If you’re planting a single rhododendron, try to cultivate as wide an area as possible around it. If you’re creating a garden bed, preparing the whole area will give the roots the best conditions to establish.
Prepping the Roots
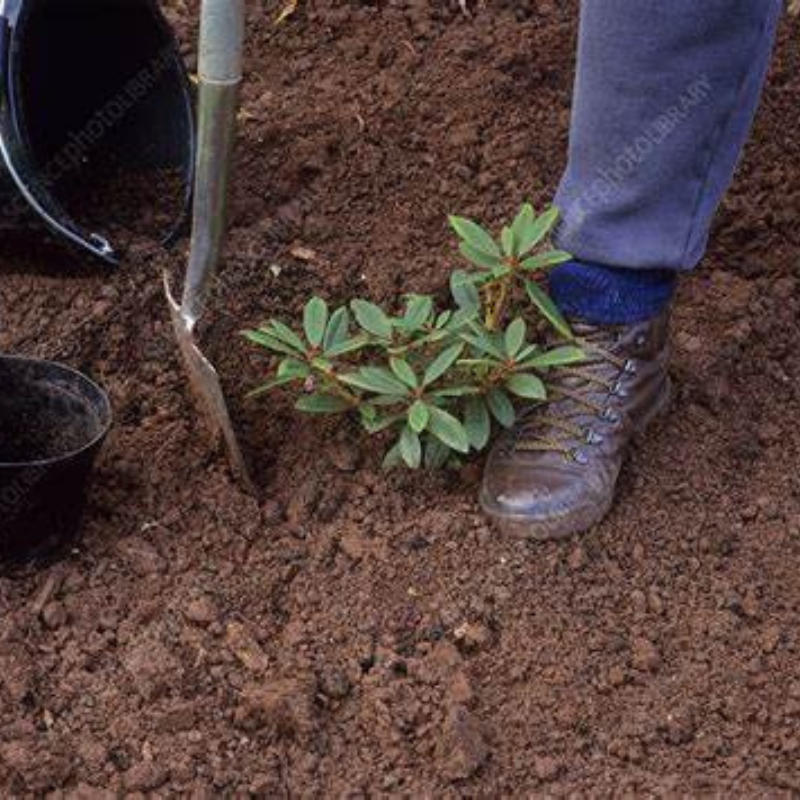
One of the most common mistakes when planting rhododendrons is not loosening the root ball. When removing the plant from its pot, soak the root ball in a tub of water to rehydrate it. Then, gently hose off some of the old soil and carefully tease out the fine, fibrous roots by hand. This encourages them to spread out into the surrounding soil rather than staying in a tight mass.
Digging the Right Hole
Rhododendrons prefer shallow planting with good air circulation around their roots. Follow these key steps:
- Depth: Dig the hole only slightly deeper than the root ball. It’s easy to see where the soil level was in the pot—don’t plant deeper than that.
- Width: Make the hole wide enough to allow the roots to spread.
- Heavy soil? If you have clay or compacted soil, rough up the edges of the hole with a fork to prevent it from hardening and restricting root growth, and add gypsum to your soil.
Once your hole is ready, work in your soil and compost mixture around the root system, making sure to spread out any loose roots so they have space to grow.
Planting and Mulching
A common error is planting too deeply. Rhododendrons should sit just at or slightly below their original soil level, with no more than 3–5 cm of soil covering the root ball. In heavy soils, raise the plant about 8cm above the soil level and mulch up to the trunk of the plant to maintain good aeration around the roots.
After planting, water thoroughly to help settle the soil around the roots. If your plant is in an exposed spot, staking may be necessary for extra support. Finally, apply an 8 cm layer of organic mulch, such as bark, leaf mold, or pine needles. This helps retain moisture, suppress weeds, insulates the roots and creates an acidic soil structure which rhodos love.
Fertilising for a Healthy Start
Resist the urge to add fertiliser into the planting hole—this can damage delicate roots. Instead, apply fertiliser to the surface after planting. Over time, rain and watering will wash nutrients down into the root zone at a rate the plant can absorb.
The Best Time to Plant
While rhododendrons can be planted throughout the year, autumn is ideal. Spring planting is also possible, but be cautious of wet soil, which can compact and exclude air. If you must plant while the rhododendron is in bloom, ensure frequent deep watering to support its transition.
Final Thoughts
With the right preparation, your rhododendrons will thrive for years to come. Remember: shallow planting, well-prepared roots, and good soil aeration are key to success. Happy planting!
-
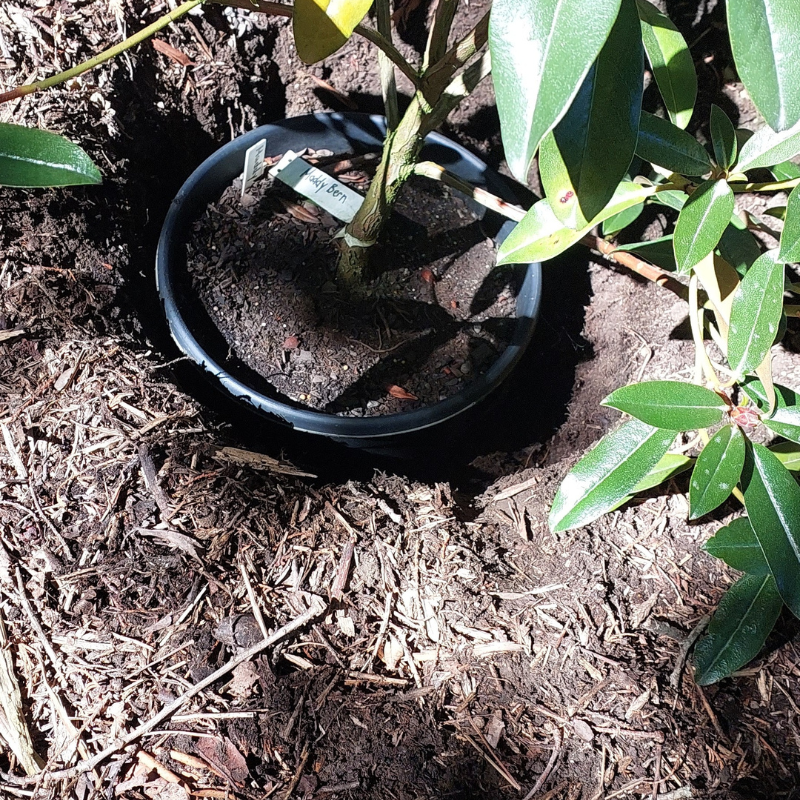
- Dig your hole slightly larger than your pot, place your pot in the hole to check the depth.
-
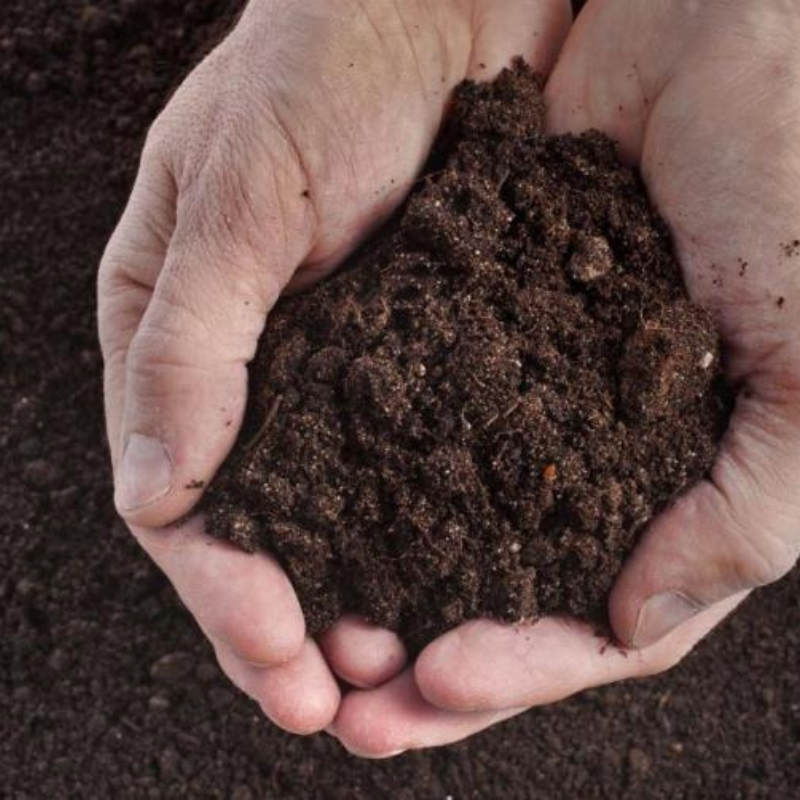
- Mix a soil conditioner with the existing soil to encourage the roots to grow through the soil structure.
-
- Firmly press down on the soil to assist in keeping the plant in place.
-
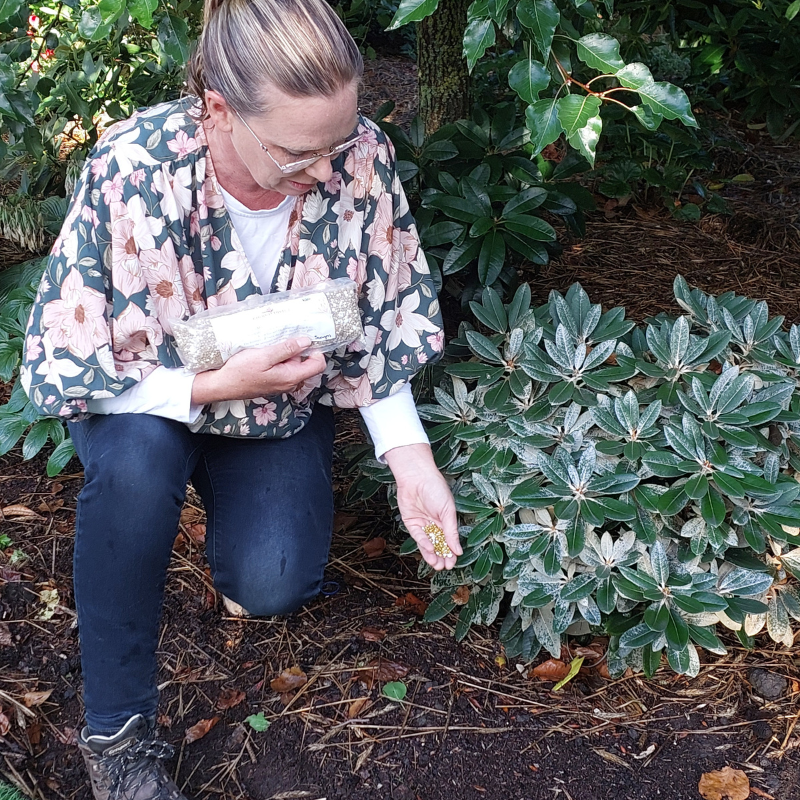
- Sprinkle Fertiliser on the surface after planting, water in.